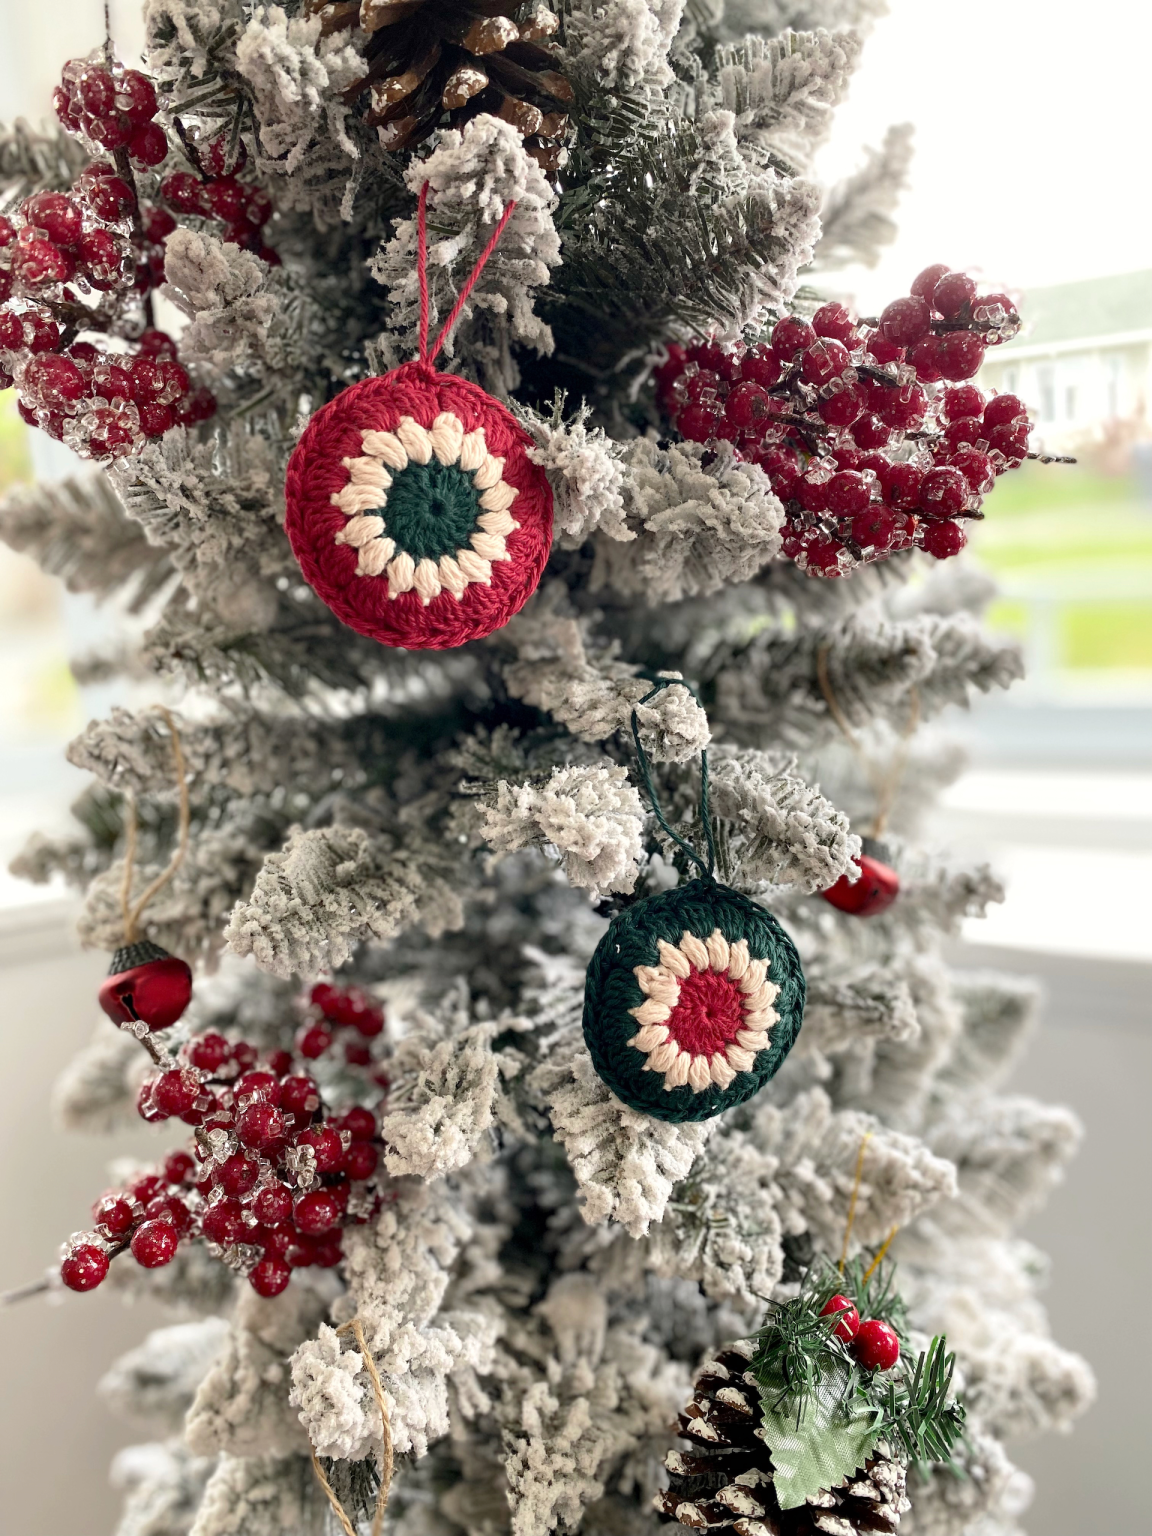
Are you looking for a fun, quick, and creative crochet project? Look no further than these delightful Granny Circle Ornaments!
SEE A NEW PATTERN HEREThey’re easy to craft, make fabulous gifts, and bring a classic vintage charm to your festive decor.
From selecting beautiful color combinations to working up these little charmers, every step of this project is joyous and engaging. So let’s get into it!
Materials
Before we start, ensure you have the following:
- 2.75mm hook
- Hobbii Amigo, less than 50g, in:
- Light Pink (#57)
- Mauve (#50)
- Dove Blue
- Hobbii Rainbow Cotton 8/4, less than 50g, in:
- Color 86 (red)
- Color 89 (cream)
- Color 100 (green)
- Stuffing;
- Tapestry needle.
Note: This pattern works best with a light weight (category 3) yarn or smaller to ensure the ornament is just the right size. You’re free to use any yarn and color combinations of your liking. The final measurements are approximately 6cm/2.5″ across.
Essential Stitches and Terms
Here are the key crochet terms and stitches we’ll use:
- Ch – Chain
- MR – Magic Ring
- Slst – Slip stitch
- Beg – Beginning
- Sp – Space
- Sc – Single Crochet
- Dc – Double crochet
- Yo – Yarn over
- Ps – Puff stitch
- Cl – Cluster stitch
- WS – Wrong side
Pattern
Our Granny Circle Ornaments are composed of two separate panels, worked in the round and joined together with a single crochet. They’re then stuffed to give them a delightful, puffy appearance.
Granny Circle (make 2):
Rnd 1: In Colour A, make a MR, ch 3, work 15 dc into the MR (16 sts), slst to beg st. Fasten off Colour A.
Rnd 2: In Colour B, insert hook into any st, ch 3, work a ps into each st around (16 sts), slst to beg st. Fasten off Colour B.
Rnd 3: In Colour C, insert hook into any ch-1-sp, ch 3, and perform a sequence of modified cl stitches and chains as detailed in the original pattern (16 cl sts), slst to beg st.
Fasten off. Weave in ends.
Assembly:
Position the wrong sides of the panels together, ensuring the outer cluster stitches are aligned. Using colour C, single crochet evenly around the panels, joining them by working a sc in every cluster stitch and every ch-1-sp.
When the majority of the panels are joined, stuff your ornament to give it a cute, puffy look. (If you prefer a more two-dimensional ornament, you can skip the stuffing.) Once complete, slst to beg st, fasten off, and weave in ends.
Finally, attach a hanging loop through any stitch using colour C. Congratulations! Your Granny Circle Ornament is ready to decorate your space or to be presented as a gift.
Full Pattern: Click Here
These Granny Circle Ornaments not only add a touch of vintage flair to your decor but also offer a delightful and relaxing crafting experience. Remember, crochet is not just about the end product, it’s also about the joy and relaxation that comes with the process. So have fun with it and create your own festive


